How to connect ChatGPT to PostMCP AI (Step by Step)
Every screen, toggle, and setting in order: sign in to PostMCP, connect your social profiles, enable Developer Mode in ChatGPT, add the remote MCP connector, and publish your first live post directly from chat.
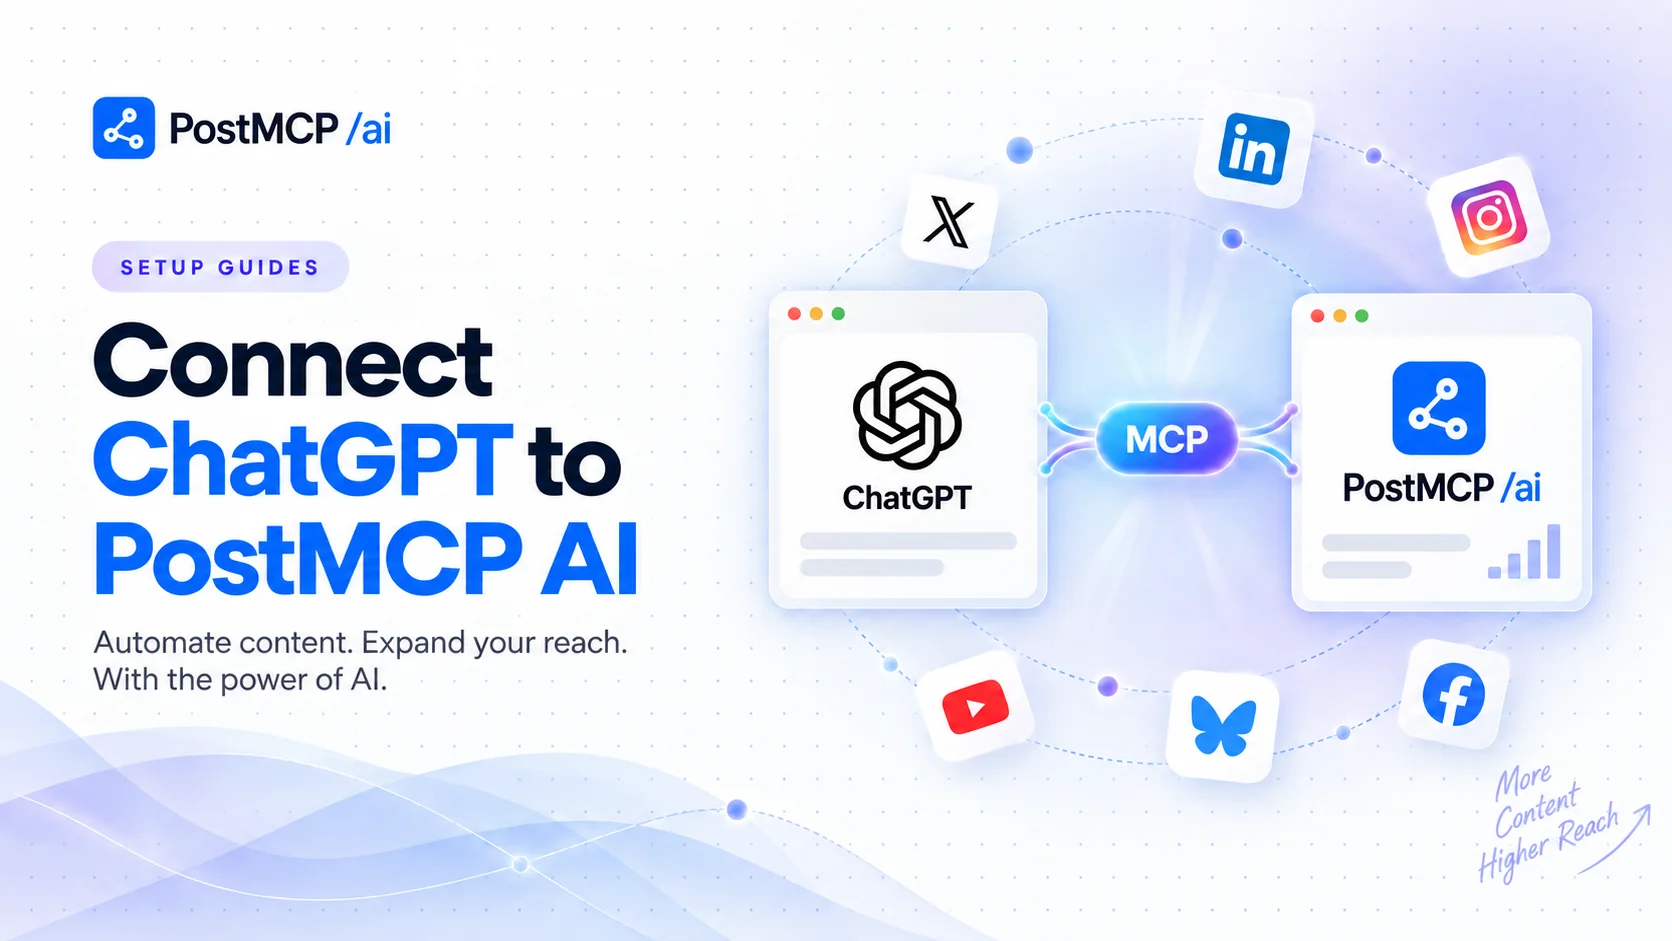
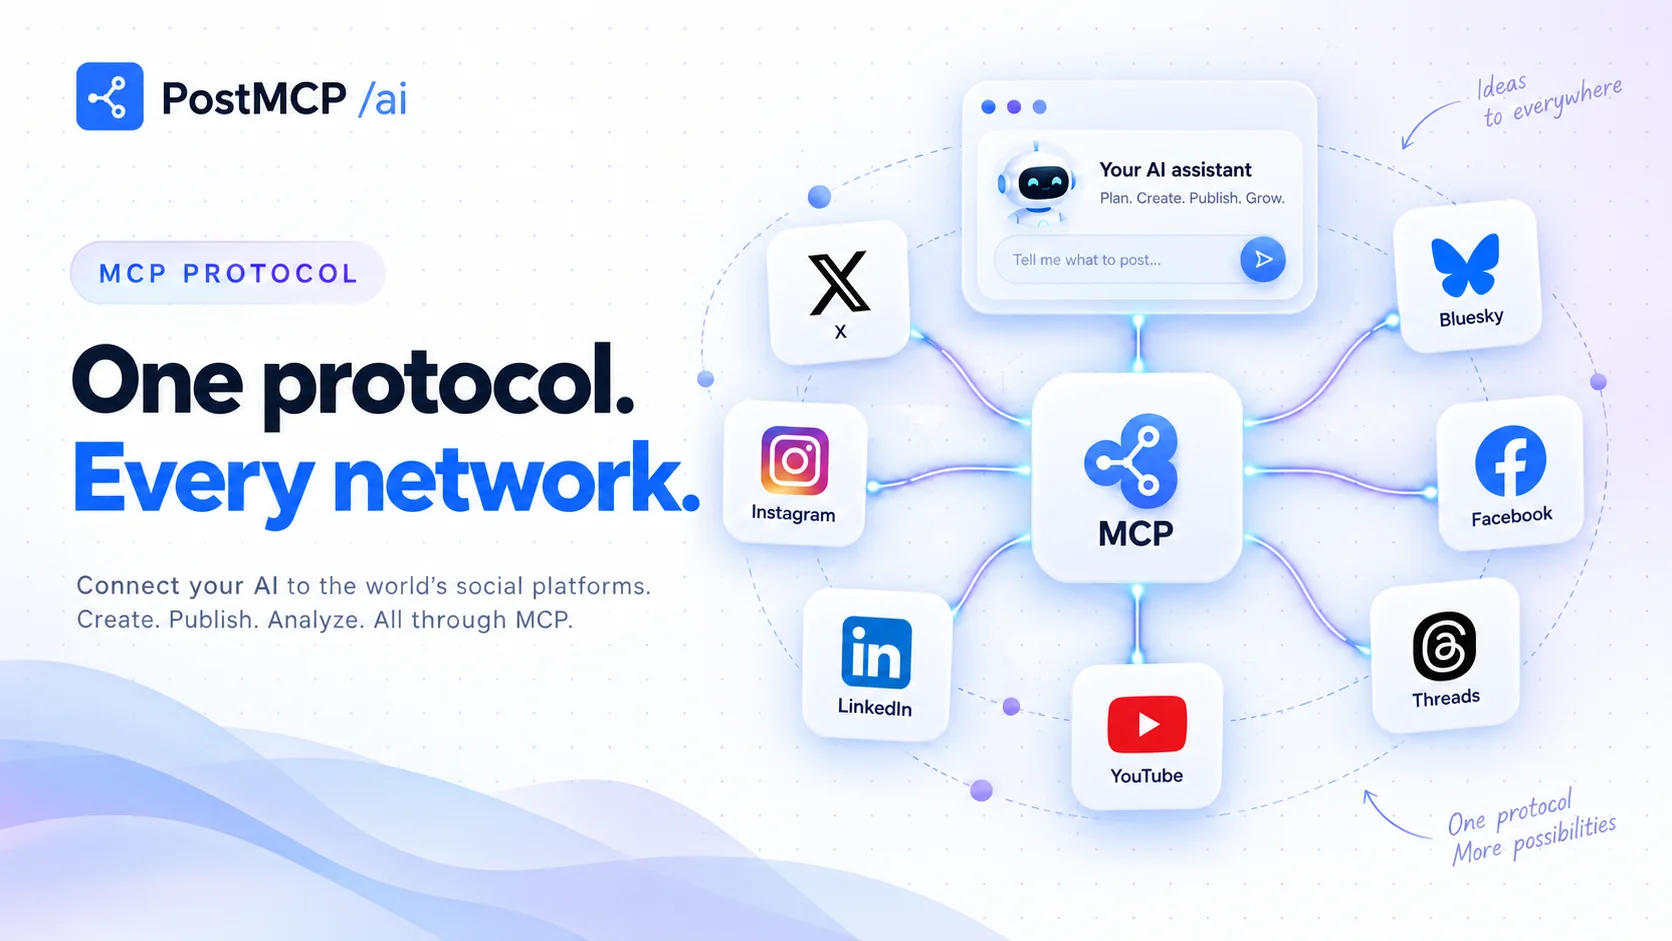
Connecting ChatGPT to PostMCP AI turns your ChatGPT chat window into a live command center for seven social networks: Bluesky, LinkedIn, X (Twitter), Instagram, Facebook, Threads, and YouTube Shorts.
Instead of juggling multiple tabs, copying and pasting copy, or logging into separate schedulers, you can simply instruct ChatGPT: “Write a post about AI and publish it to Bluesky with PostMCP.” ChatGPT drafts the post, calls PostMCP tools, and publishes it live to your account in seconds.
Before you start
- A PostMCP AI account (free to sign up at the login page with Apple, GitHub, or Google — comes with 20 free monthly posts).
- At least one connected social network (such as Bluesky, LinkedIn, or X) in your PostMCP workspace.
- A ChatGPT Plus, Pro, Team, or Enterprise account (Developer Mode and custom MCP connectors are available on these tiers).
Step 1 — Sign in to PostMCP AI
Navigate to the PostMCP Sign In page. You can authenticate with one click using your Apple, GitHub, or Google account. There are no lengthy registration forms or password configurations.
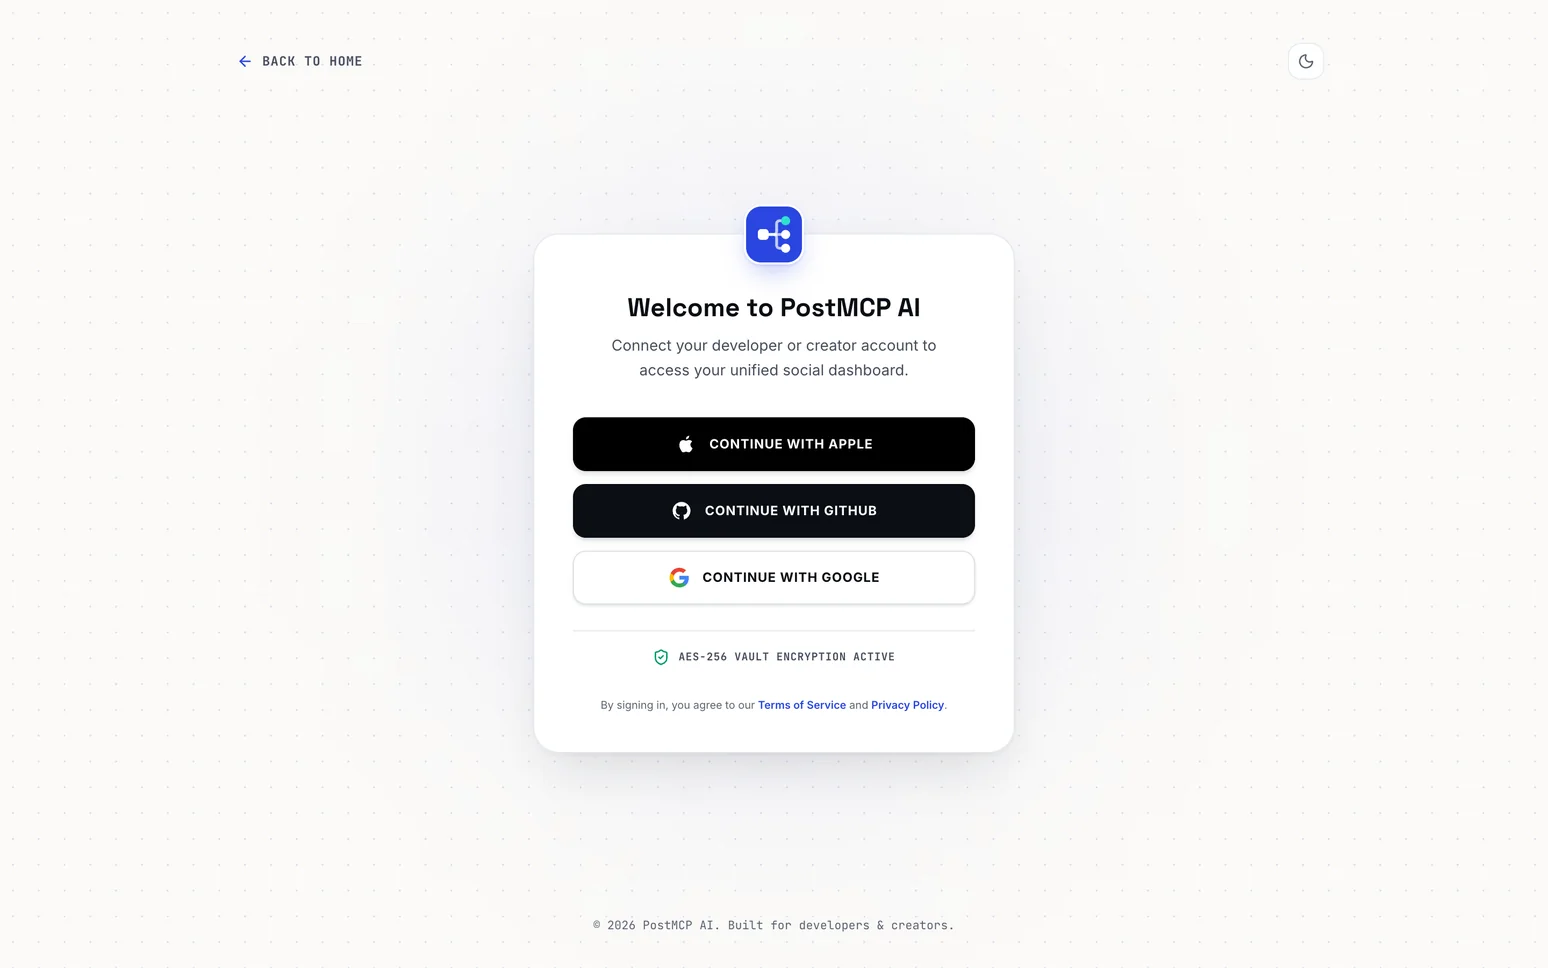
Once signed in, PostMCP provisions a dedicated workspace for you, protected by AES-256 vault encryption for your credentials.
Step 2 — Connect your social accounts
From the dashboard sidebar, navigate to Accounts and click Connect New Account (or click the plus icon). A modal titled Integrate Social Channel appears with all supported platforms.
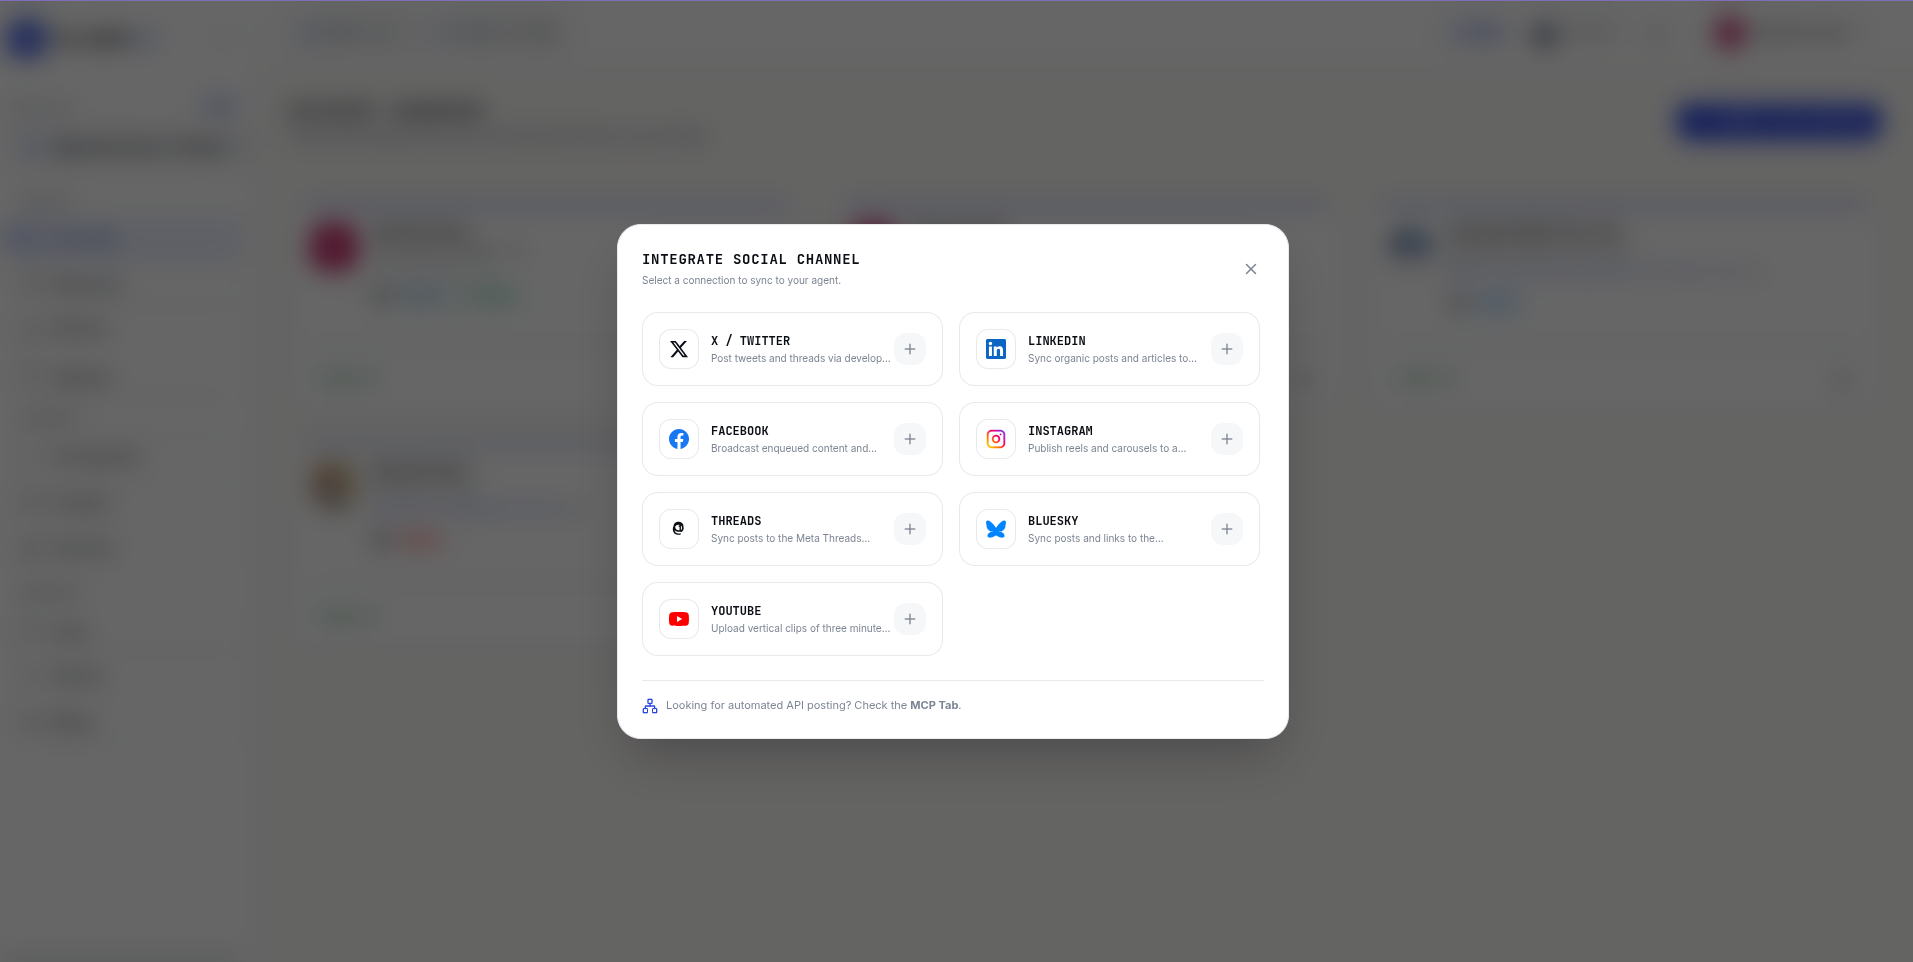
Click the + button next to your desired platform — for example, Bluesky, LinkedIn, or X / Twitter:
- 1Bluesky
Provide your Bluesky handle and an App Password generated in your Bluesky account settings. Your profile is linked in seconds.
- 2LinkedIn
Authorize via official LinkedIn OAuth. Connect either personal profiles or company pages that you manage.
- 3X / Twitter
Sign in through Twitter OAuth 2.0 to grant post and thread publishing permissions.
- 4Meta (Instagram & Facebook)
Authorize through Facebook Business Login to enable automated publishing to Instagram Business profiles and Facebook Pages.
Once connected, your account shows an active status badge in the dashboard, confirming that PostMCP is ready to post on your behalf.
Step 3 — Copy your unique MCP Server URL
In the PostMCP dashboard left navigation bar, click on AI Integration (under the AUTOMATE section). This tab generates ready-to-use configurations for AI assistants including ChatGPT, Claude, Cursor, Antigravity, and OpenClaw.
Click on the ChatGPT setup card. You will see a 3-step setup walkthrough built specifically for ChatGPT Developer Mode.
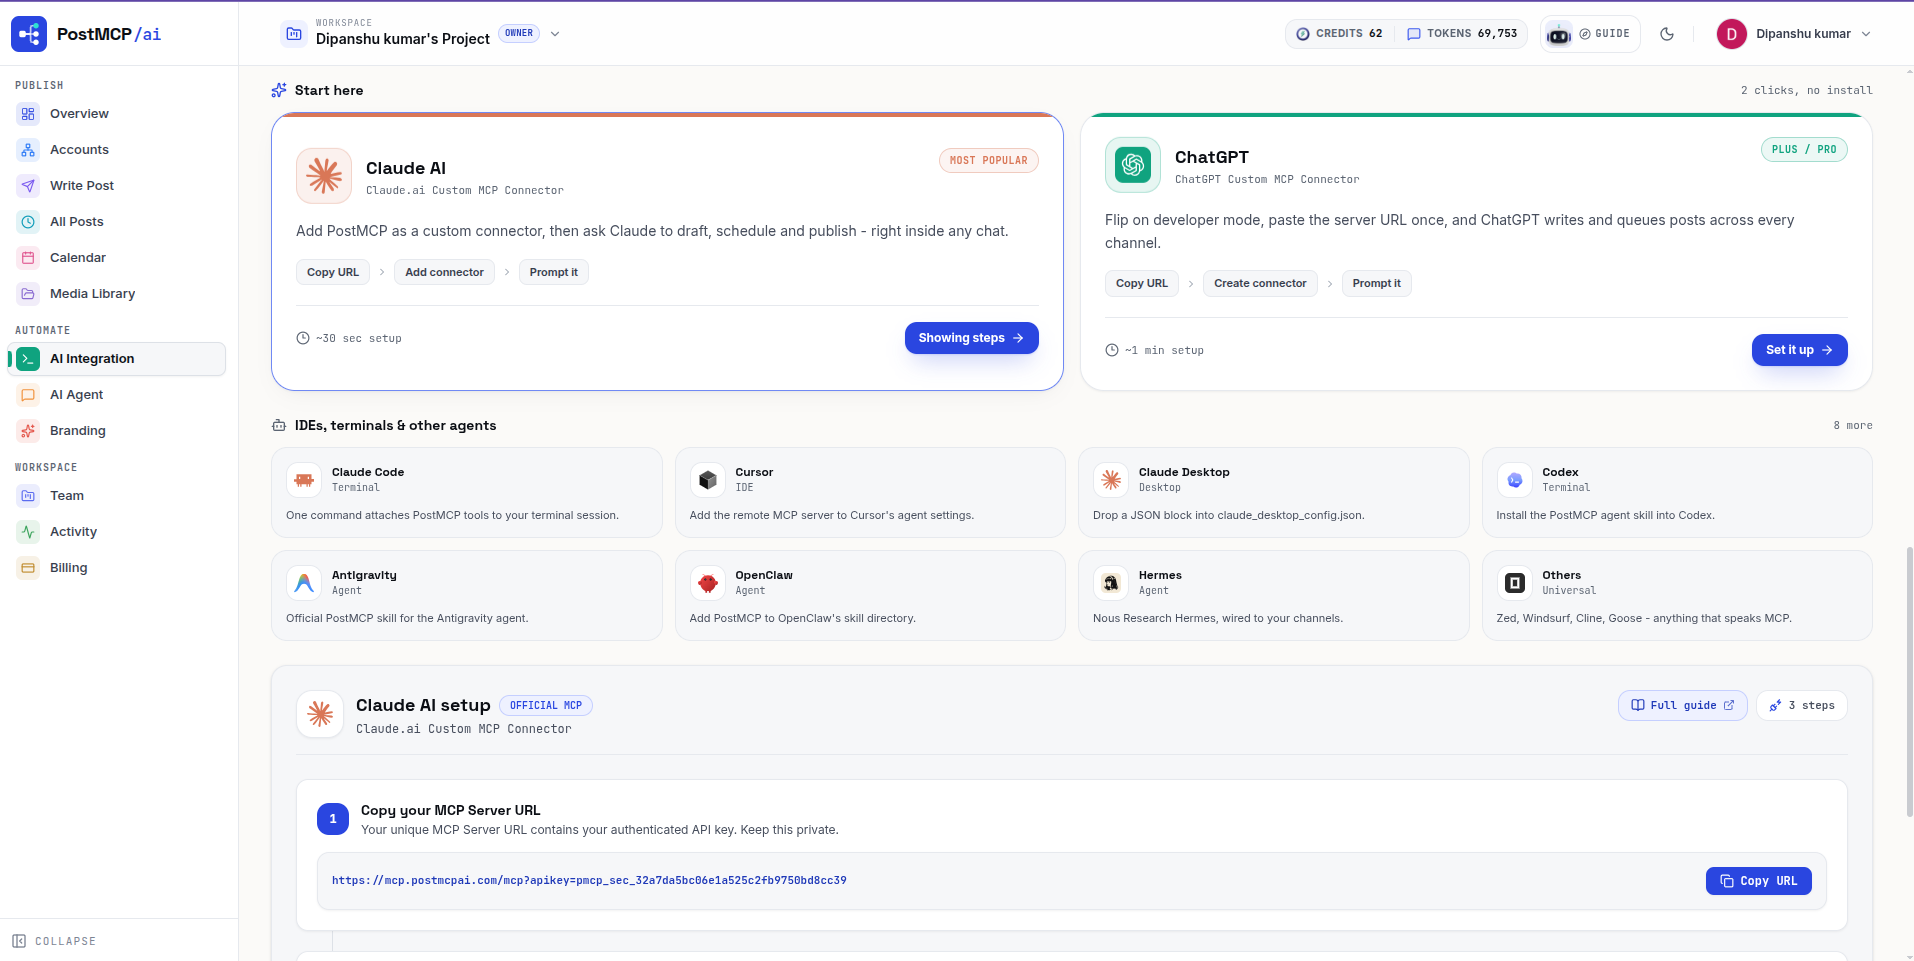
Click the blue Copy URL button in Step 1. Your clipboard will hold a URL formatted like: https://mcp.postmcpai.com/mcp?apikey=pmcp_sec_••••.
Step 4 — Enable Developer Mode in ChatGPT
To use custom MCP servers in ChatGPT, you first need to turn on Developer Mode. This enables ChatGPT’s Model Context Protocol client so it can connect to external servers like PostMCP AI.
- 1Open Settings from your Profile Avatar
In the bottom-left corner of ChatGPT, click on your profile avatar (or name). A popup menu will appear with your account options — click Settings.
- 2Navigate to Advanced Settings
Inside the Settings modal, click on the Advanced tab in the sidebar list.
- 3Toggle Developer Mode ON
Locate the Developer Mode switch and toggle it to ON. This reveals the Connectors and custom MCP app features.
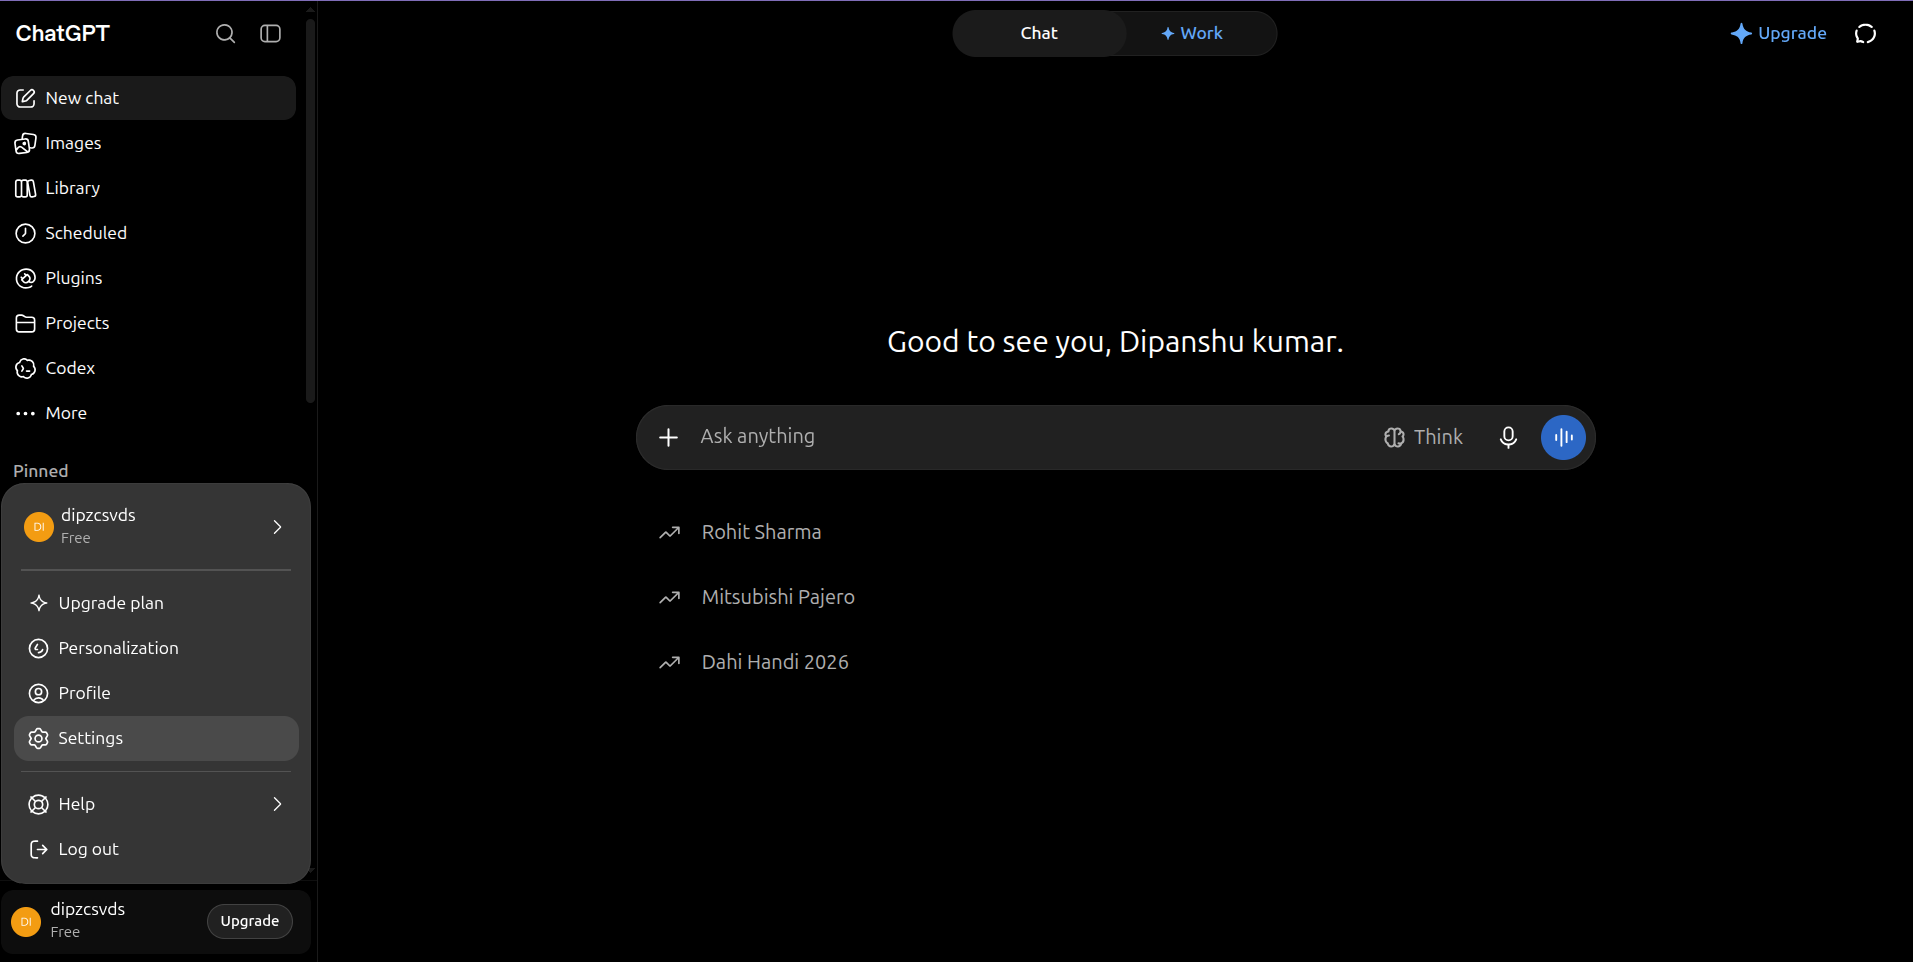
Once inside the Settings modal, click Advanced on the left and switch Developer Mode to ON:
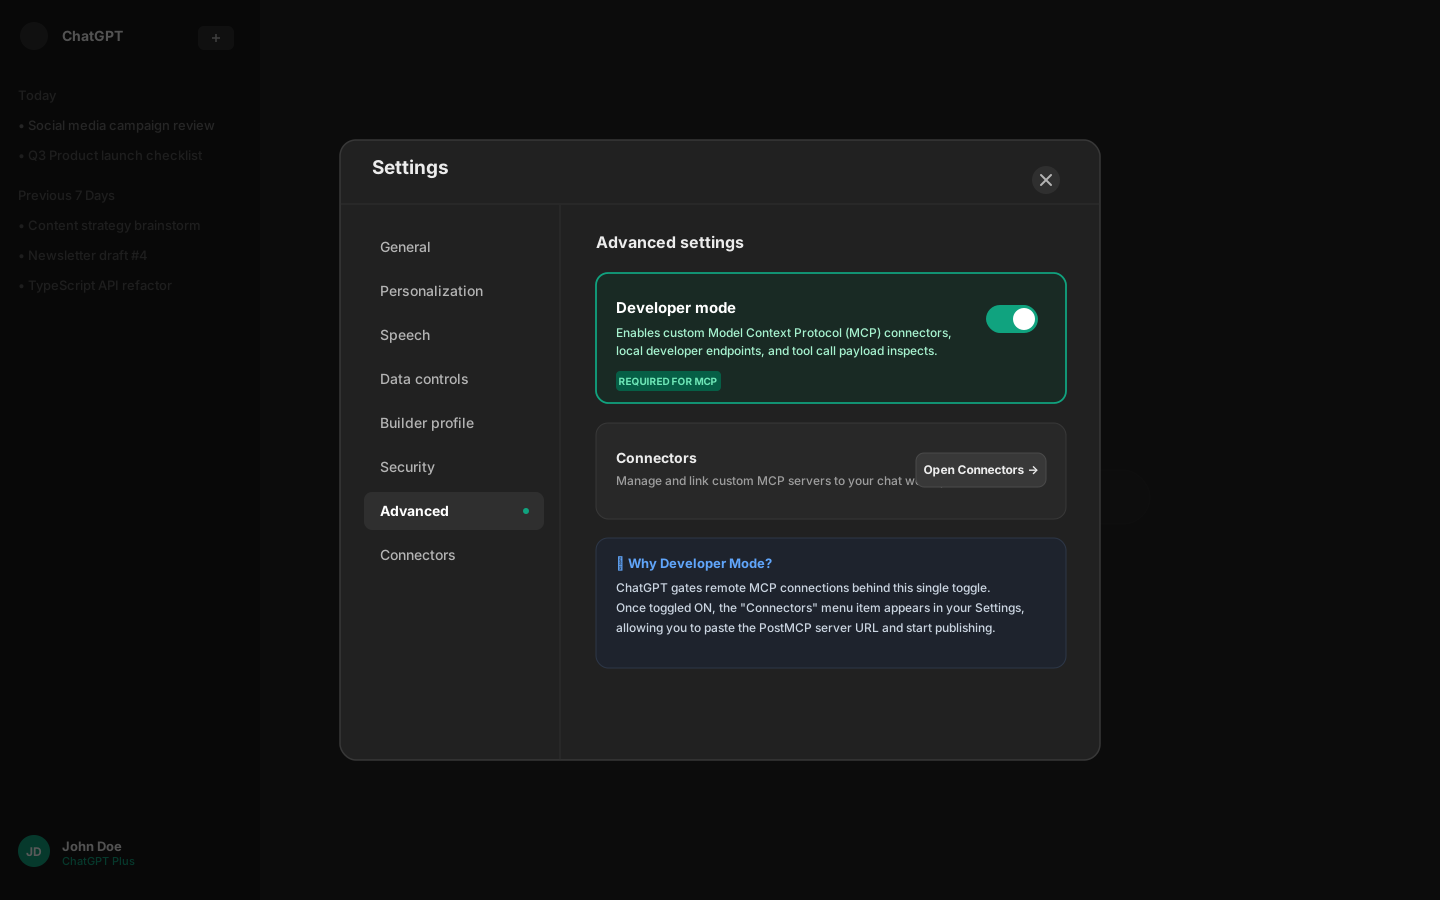
With Developer Mode active, ChatGPT enables its internal Model Context Protocol runtime and reveals the Connectors and custom apps interface.
Step 5 — Create the PostMCP connector in ChatGPT
Once Developer Mode is enabled, open Plugins / Connectors in ChatGPT and click New App (or navigate to chatgpt.com/plugins#settings/Connectors?create-connector=true).
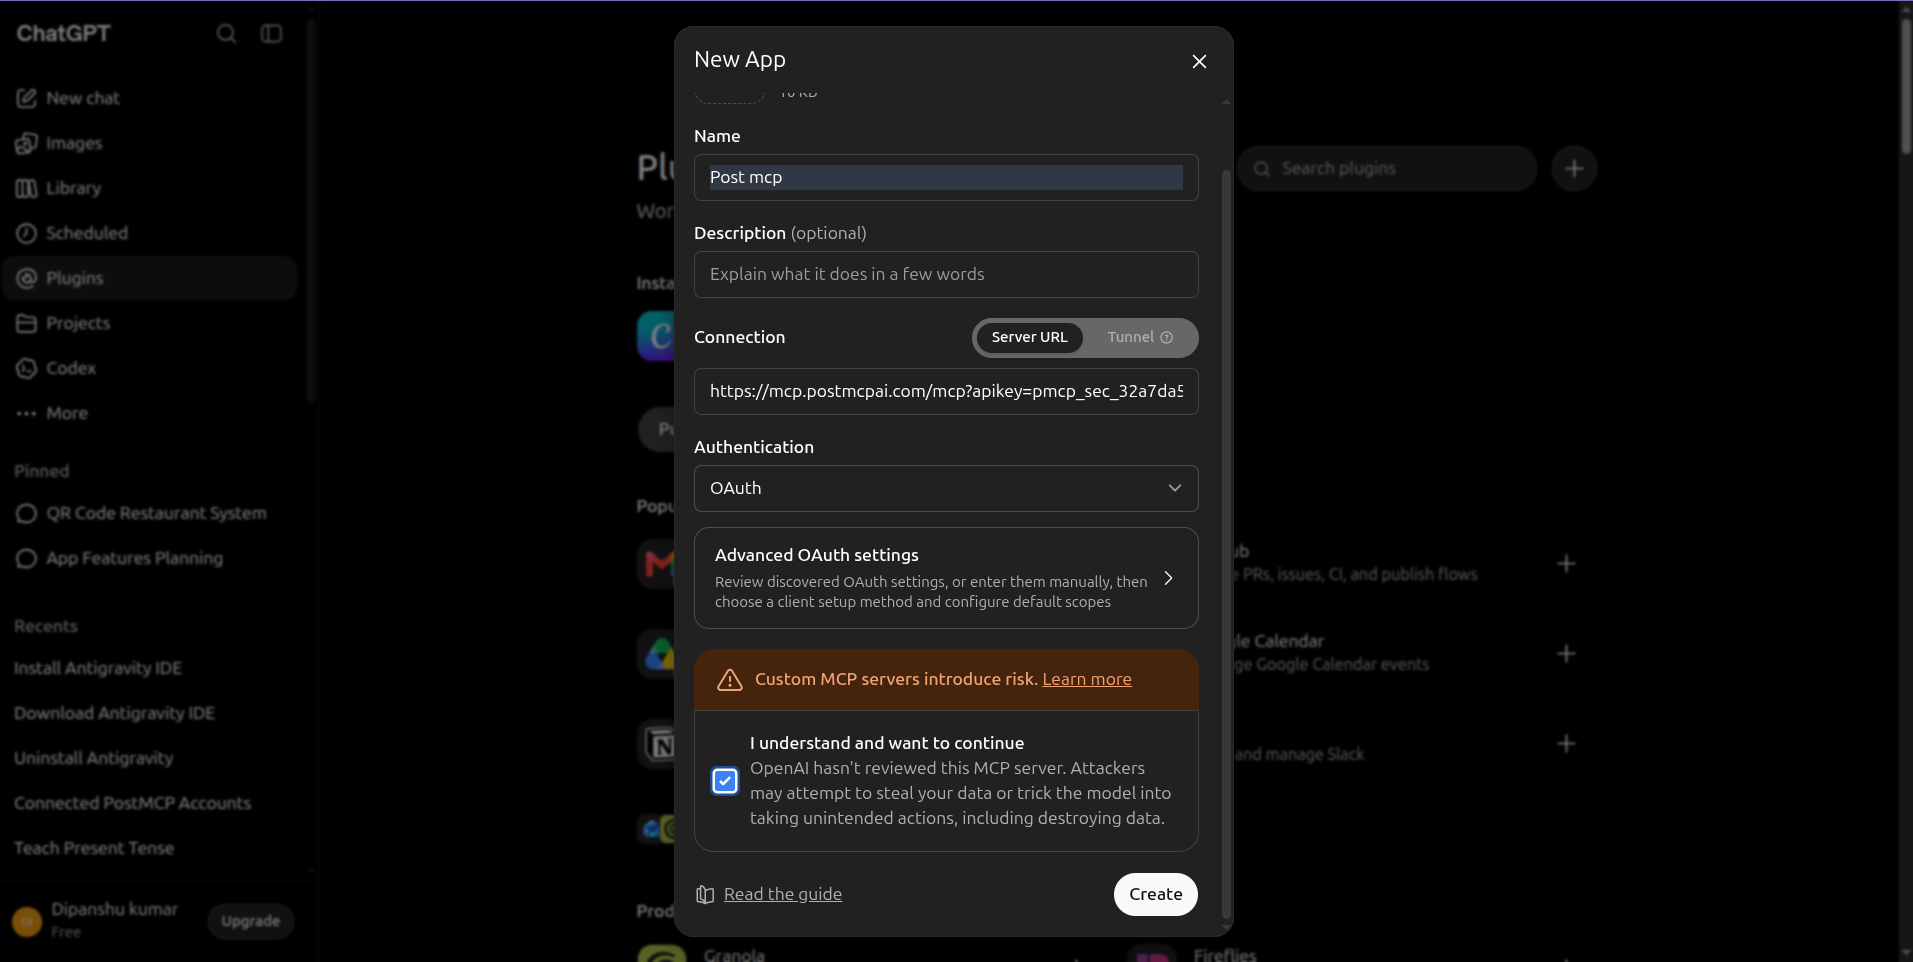
Configure each field in the New App modal as follows:
| Field | What to enter / select | Details |
|---|---|---|
| Name | Post mcp (or PostMCP AI) | The identifier ChatGPT uses in conversations and tool badges. |
| Description (optional) | Publish and manage social media across 7 networks | Helps ChatGPT understand the connector capabilities. |
| Connection | Server URL | Toggle to Server URL (do not select Tunnel). |
| Server URL input | https://mcp.postmcpai.com/mcp?apikey=pmcp_sec_••• | Paste the exact URL copied from the PostMCP AI Integration tab. |
| Authentication | No auth (or OAuth / None depending on UI) | The API key is already embedded in the URL query string. |
| Risk acknowledgement | Check "I understand and want to continue" | Required by OpenAI when installing custom developer MCP servers. |
Click Create. ChatGPT connects to PostMCP’s HTTPS endpoint, negotiates protocol schemas, and loads all 16 publishing and account tools.
Step 6 — Prompt ChatGPT to draft and publish
Start a new chat in ChatGPT. You can now prompt ChatGPT in plain English to create and publish content using your connected PostMCP accounts.
Here is an example prompt that asks ChatGPT to write a thought-provoking post about AI and publish it directly to Bluesky:
“write somthing about ai and post on bluskey using postmcpai”
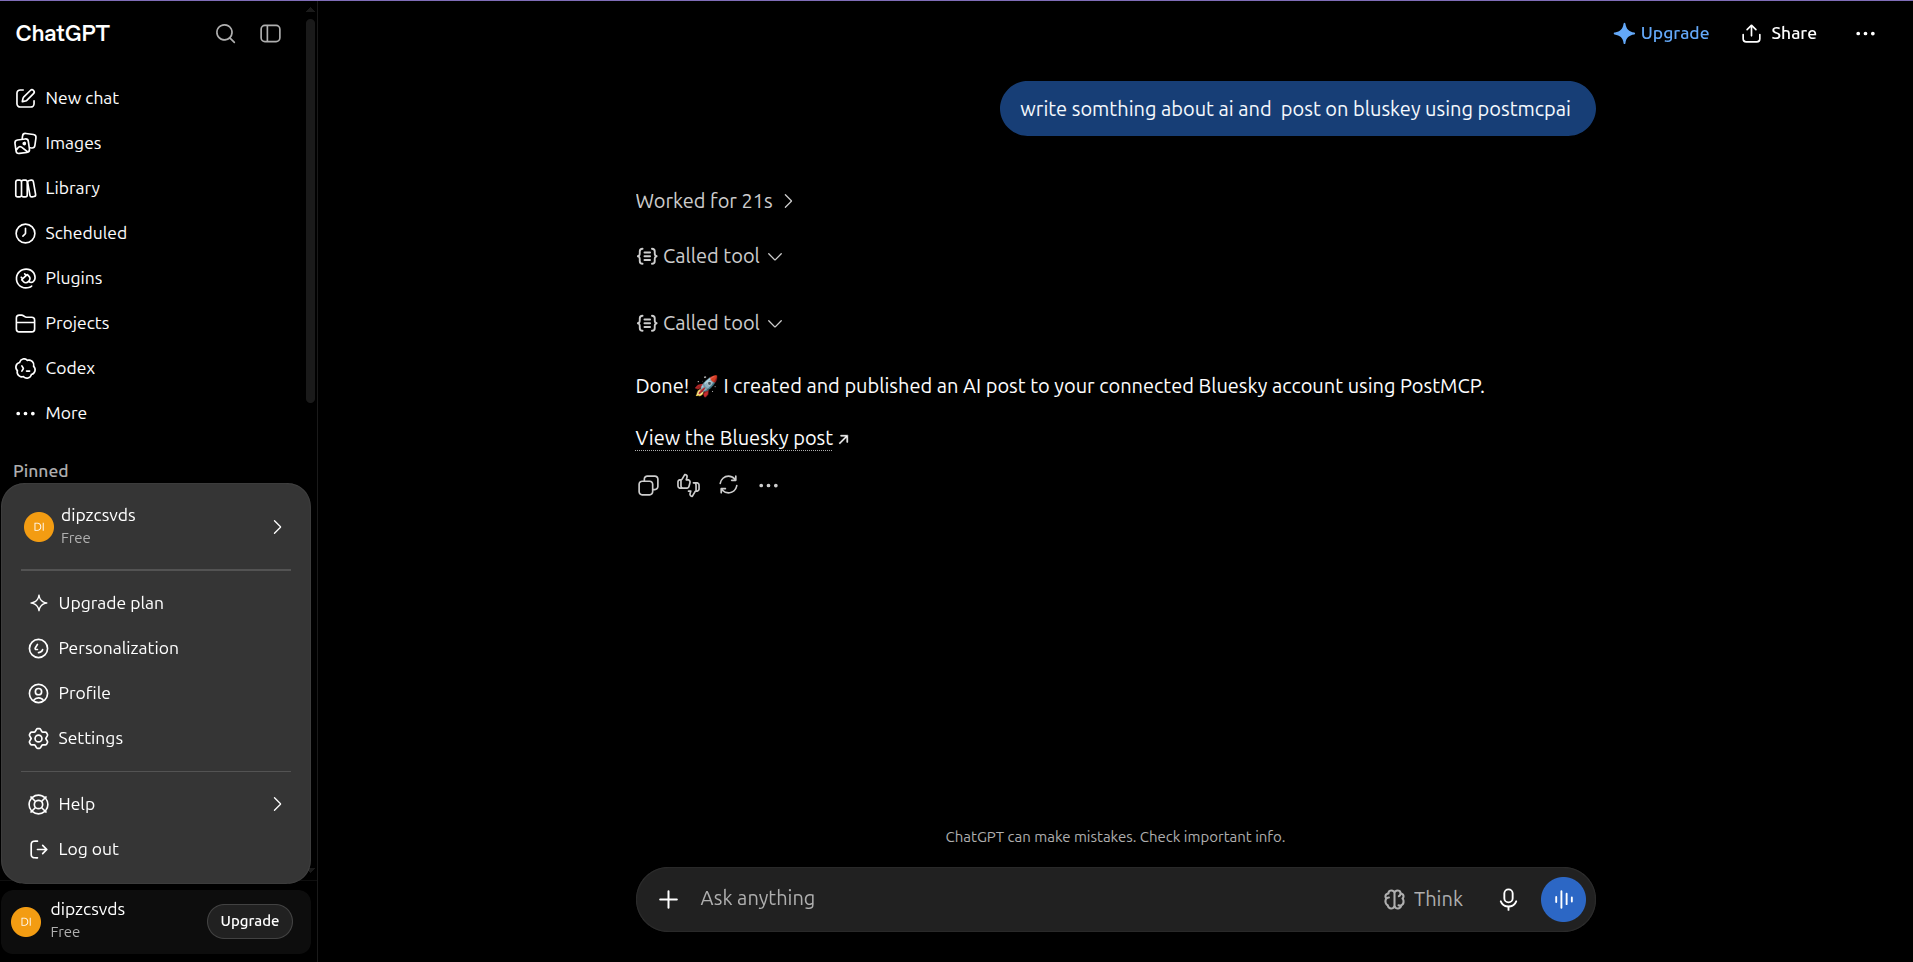
Notice what ChatGPT does automatically during this exchange:
- 1Tool Detection
ChatGPT reads your request, sees you mentioned "bluskey using postmcpai", and resolves the PostMCP connector tools.
- 2Platform Preflight & Composition
ChatGPT crafts a compelling post suited for the platform, adhering to character limits and adding relevant tags (#AI, #Technology, #Future).
- 3Direct Execution & Link Return
ChatGPT calls the publishing tool (
create_post/publish_post_now) and immediately outputs the confirmation message with the live URL: “Done! 🚀 I created and published an AI post to your connected Bluesky account using PostMCP. View the Bluesky post ↗”.
Step 7 — Verify the live published post
Click the View the Bluesky post ↗ link returned in the chat. You will be taken directly to your live post on the social network!
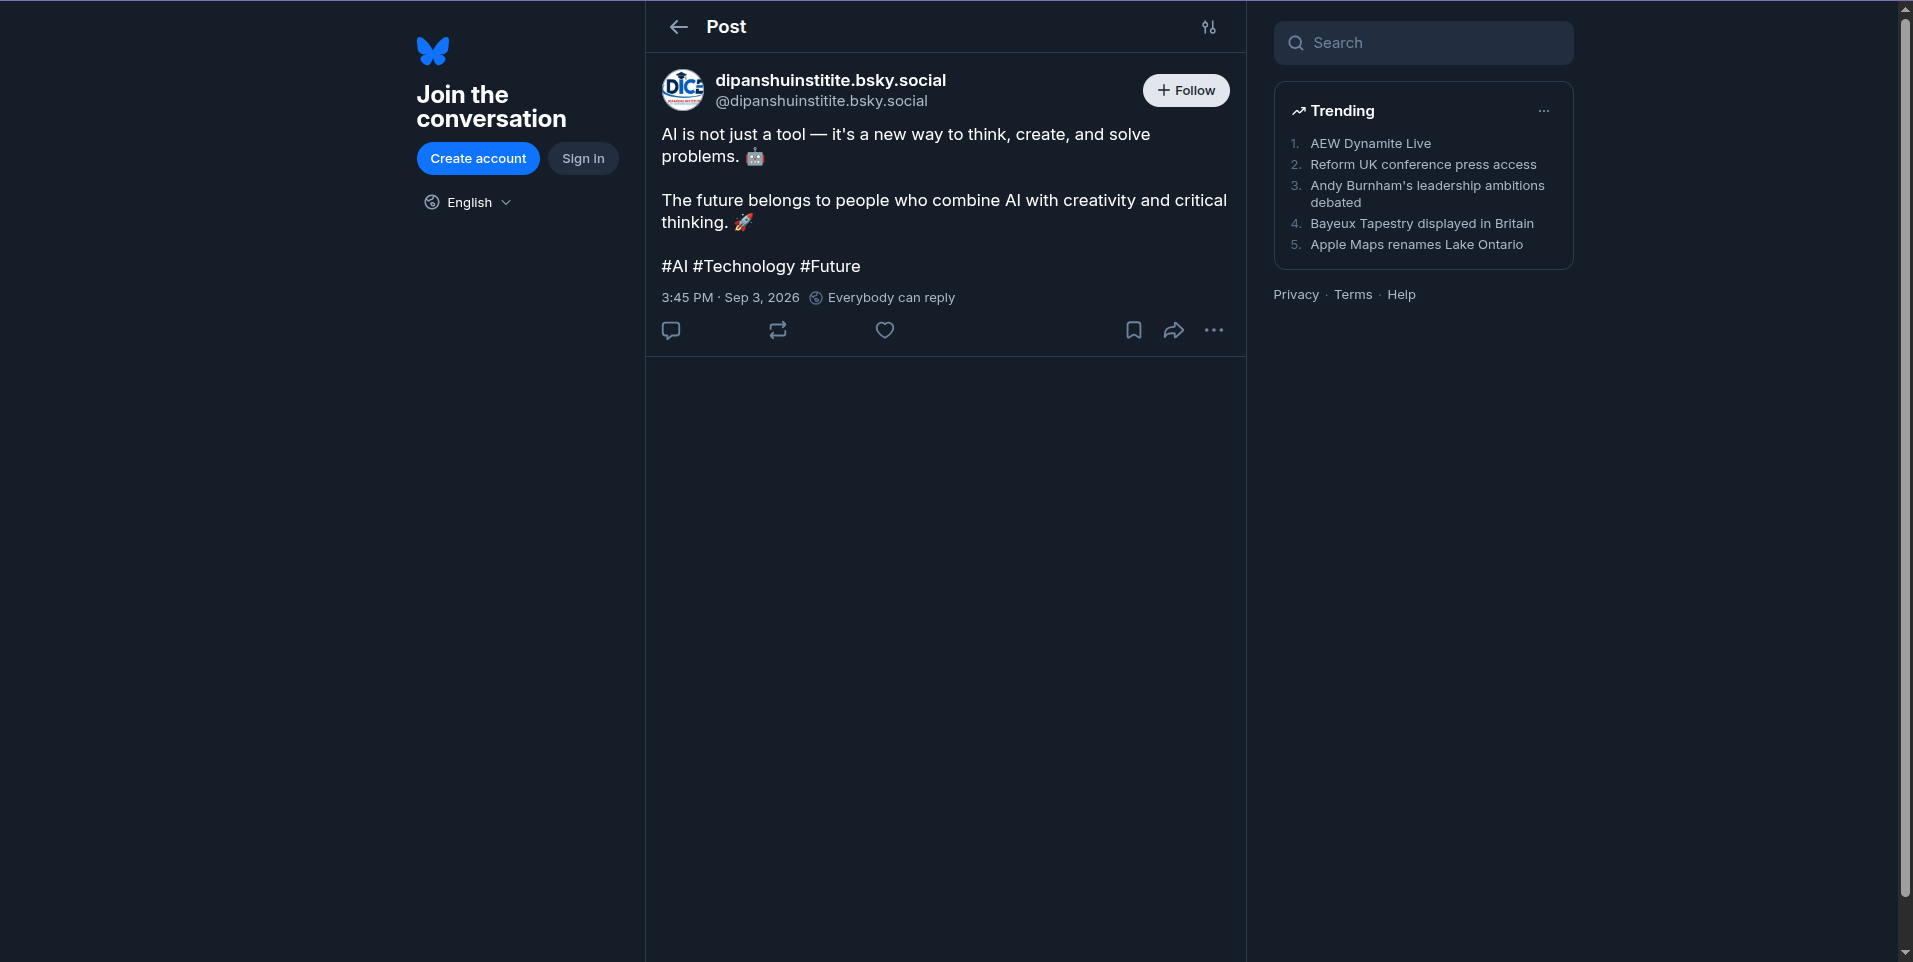
Here is the exact live post generated and published in this run:
“AI is not just a tool — it's a new way to think, create, and solve problems. 🤖 The future belongs to people who combine AI with creativity and critical thinking. 🚀 #AI #Technology #Future”
Managing and reviewing posts in PostMCP
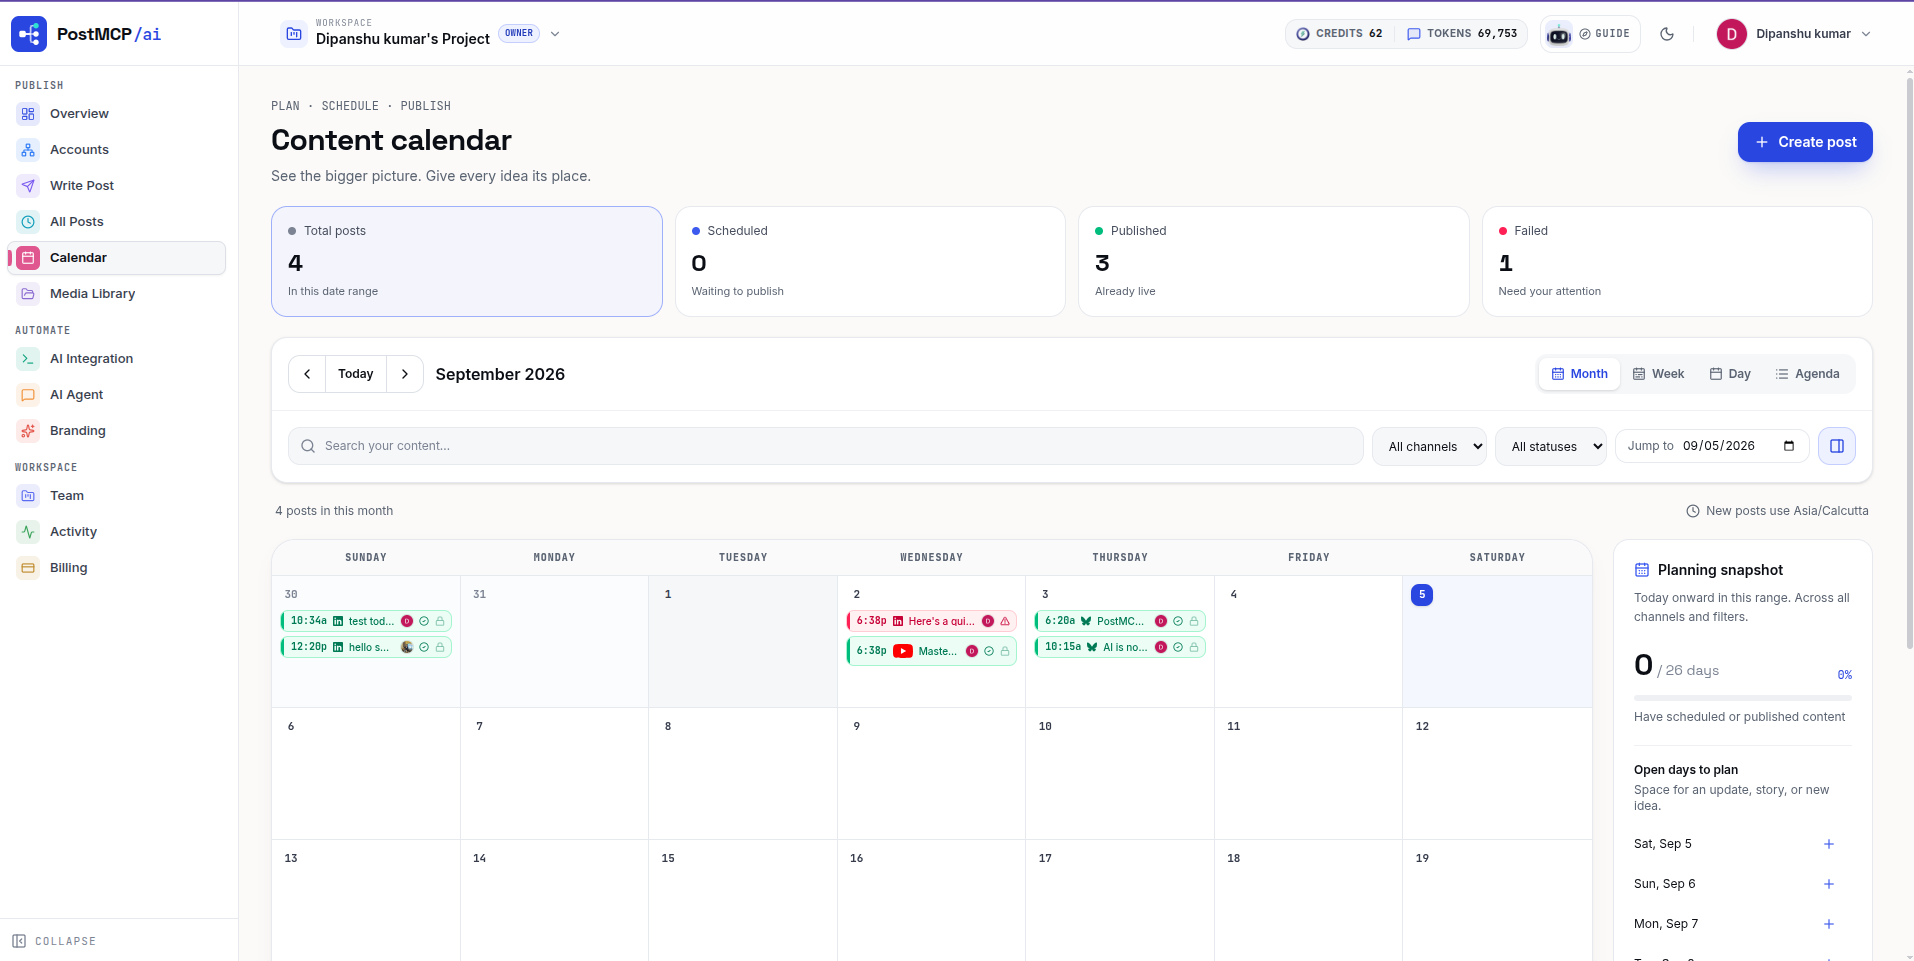
Every action taken by ChatGPT is mirrored in your PostMCP dashboard in real time. If you ask ChatGPT to schedule a post for next Tuesday, or draft a campaign across multiple accounts, it appears immediately on your Content Calendar.
More powerful prompts to try
Once the connector is set up, you can execute complex multi-network workflows from a single prompt:
- 1Multi-platform fan out with custom copy
“Draft a product launch update for LinkedIn and X. Make the LinkedIn post detailed with bullet points, keep X under 280 characters with hashtags, and ask for my confirmation before publishing.”
- 2Dry-run preflight check
“Check my connected accounts on PostMCP and verify if all OAuth tokens are healthy. Report any platforms that need reconnection.”
- 3Visual Content Scheduling
“Schedule a motivational tip about developer productivity for Friday at 10:00 AM EST on Bluesky and Threads.”
Troubleshooting common setup hurdles
- 1Developer Mode is missing in ChatGPT
Developer Mode is only available to ChatGPT Plus, Pro, Team, and Enterprise users. Ensure your subscription is active. If you are on an Enterprise or Team plan, confirm that your workspace admin has not disabled developer settings.
- 2Connection error when creating the connector
Verify that you copied the complete URL including
?apikey=pmcp_sec_•••. Ensure you selected "Server URL" rather than "Tunnel", and that there are no accidental spaces in the pasted string. - 3ChatGPT cannot find a connected account
Confirm that you completed the OAuth connection in Step 2 on the PostMCP Accounts tab. You can ask ChatGPT: "List my connected accounts on PostMCP" to verify what profiles are currently available.
- 4Post failed due to token expiration
Social platform tokens occasionally expire or need re-authorization. If a post fails, simply go to your PostMCP Accounts tab, click Reconnect next to the platform, and try again in ChatGPT.
Summary
With PostMCP AI connected to ChatGPT via the Model Context Protocol, you no longer need manual copy-pasting or third-party scheduling dashboards. You have an intelligent, full-featured social publishing assistant directly inside your chat window.
To connect other AI tools like Claude or Cursor to the same workflow, check out our step-by-step guide on how to connect Claude to PostMCP AI, explore our AI Agents hub, and read our guide on what a social media MCP server is.
Frequently asked questions
- Can ChatGPT post to social media directly?
- Not natively, because ChatGPT does not store your social credentials. Through the Model Context Protocol (MCP), you give ChatGPT access to PostMCP’s publishing tools. Once added as a custom connector in ChatGPT Developer Mode, ChatGPT can list your connected profiles, draft copy tailored for each platform, run preflight validation, and schedule or publish posts.
- What ChatGPT subscription is needed for MCP connectors?
- Custom MCP connectors in ChatGPT are available to ChatGPT Plus, Pro, Team, and Enterprise accounts under Settings → Advanced → Developer Mode. Free accounts do not currently have Developer Mode or custom connectors.
- Do I need to host a server or write code?
- No hosting is required. PostMCP AI provides a ready-made, managed remote MCP endpoint over HTTPS (https://mcp.postmcpai.com/mcp?apikey=...). You simply copy the URL from your PostMCP dashboard and paste it into ChatGPT.
- Why should I choose "No auth" when creating the connector?
- PostMCP embeds your unique, encrypted workspace API key directly within the query parameter of the server URL. When configuring ChatGPT’s connector, selecting "No auth" tells ChatGPT that the URL itself carries the necessary credentials, eliminating the need for complex headers or OAuth callbacks.
- Does ChatGPT publish posts automatically without asking?
- No. Read-only actions like get_connected_accounts execute seamlessly, but mutating actions like create_post or publish_post_now prompt for your confirmation or require your explicit command in the chat before touching any live feed.
- What social networks can I post to from ChatGPT?
- LinkedIn (profiles and company pages), X (Twitter), Facebook, Instagram, Threads, Bluesky, and YouTube Shorts. You can publish to one network or ask ChatGPT to fan out across multiple channels simultaneously with tailored character limits.